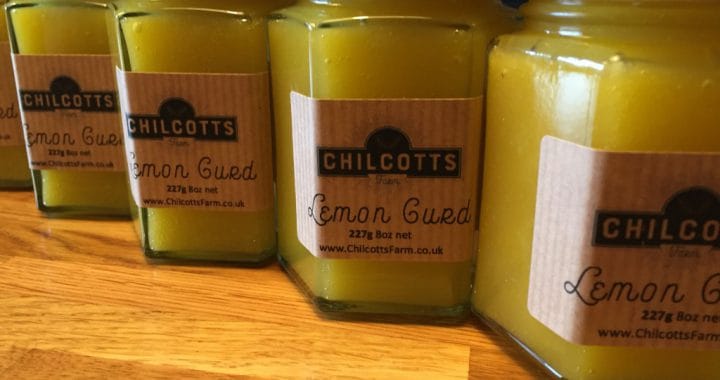
A curd is a thick custard conserve, in its purest form, made from a fruit, butter, eggs, and sugar. This Lime Curd recipe is simple, no artificial additives or thickeners. It makes a curd with a deep citrus flavour and a light hint and aroma of lime.
Like Lemon Curd, Lime curd is gorgeous on toast, crumpets or drizzled into plain yogurt (my favourite!) When made, it is almost a fluorescent limey yellow. The deep colour is probably contributed to by the deep yellow yolks of our duck eggs.
Here is a simple recipe which makes a curd second to none. Try it.
Ingredients
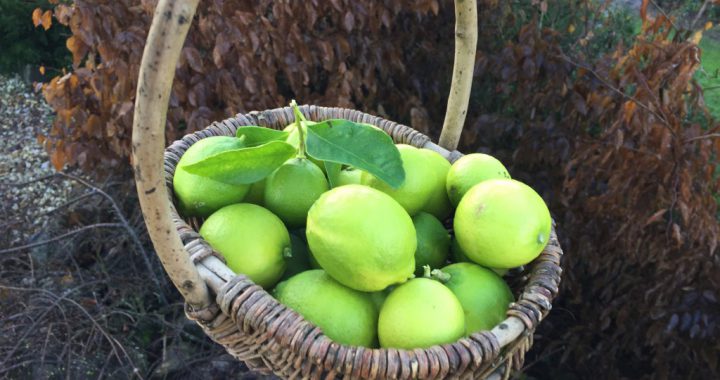
- Grated rind and juice of 8 unwaxed Limes (A ratio of 2 Limes to 1 egg)
- 4 Large Eggs (We use our duck eggs, but hen eggs are fine too)
- 100g of butter (For a fat free version, the butter can be left out of the recipe)
- 450g of sugar
Equipment
- 3 to 4 jam jars
- sauce pan and bowl, to make a double boiler (the pan is filled about half with water, and the bowl sits in the pan)
- Wooden spoon
Preparation
- Wash the jam jars in warm soapy water, rinse and along with the lids, place in a warm oven at about 80°C.
How to make
- Put all the ingredients into a bowl and place the bowl on top of a simmering saucepan of water. (A double boiler)
- Stir the contents of the bowl until the sugar has dissolved (it no longer feels gritty on the bottom of the bowl.
- Continue to heat stirring from time to time until the curd thickens and covers the back of the spoon.
- When it thickens, poor the contents into the clean sterilised jars.
- Screw on the lids and leave to cool.
We normally consume the curd within 3 months, but it seems to keep for at least up to a year (that's the longest we've kept it). Once open, we keep the curd in the fridge.