Plum jam is really easy to make. A few simple ingredients, produces a lovely homemade jam. This is a great way to use up surplus Victoria Plums.
Ingredients
- 1Kg of Firm Plums¹, stones removed and diced
- 1Kg Granulated Sugar
- 200ml of water
- 1tbsp Lemon Juice
- Knob of butter
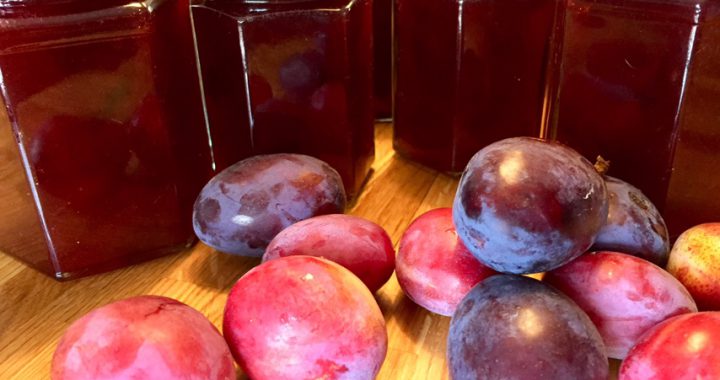
¹I use Victoria or Czar plums. The Victoria plum needs to be picked when still firm and slightly under ripe. This variety, due to it's lighter skin, can producer a paler looking jam. The Czar plum has a darker skin and produces a darker coloured jam, but still needs to be picked when firm.
Equipment
- Large pan or Preserving/ Jam pan
- Small plate
- four to five 12oz Jam Jars
Preparation
- Place a couple of small plates in the fridge and give sufficient time to cool before starting the jam making;
- Wash the jam jars in warm soapy water, rinse and along with the lids, place in a warm oven at about 80°c.
How to make Plum Jam
- Prepare the plums by removing the stone and dicing.
- Add the prepared plums, the sugar, water and lemon juice into a large stainless steel pan (preferably a jam or preserving pan if you have one).
- Cook over a gentle heat slowly until the plums are soft.
- Bring to a gentle boil, stirring so that the contents of the pan does not stick to the bottom of the pan.
- Gently boil until the contents looks thicker and begins to jellify on the back of a cold spoon.
- To test if the jam is set, put a tea spoon of the jam onto the very cold plate and leave to cool for a minute. When cool enough push it with your finger. If the contents on the plate wrinkles, the jam is ready and will set. You should also be able to tip the plate and the contents not run off. If it stays, runny, boil the pan for a few more minutes and then repeat the test.
- Once it passes the test, leave the jam in the pan to cool for 10 minutes.
- Using a large spoon take off any scum on the surface.
- Put the contents of the pan into the jars while it is still warm. We find using a ladle makes this job easier. Fill the jars to the top leaving a small air space.
- While the jars and contents are still hot, screw on the lids.
- As the jars are cooling give the lid of each jar a slight turn to make sure that the lids are on tightly.
- Any jam left and not enough to fill a jar, place in a tub and put in the fridge and eat this first!
- We find that the Jam lasts indefinitely, however, I think the standard wording/ guidance should be 'Eat within 3 months' and 'Keep refrigerated after opening'.