As the season draws to a close, it gives me a chance to undertake some final checks on the colony and perform some house keeping.
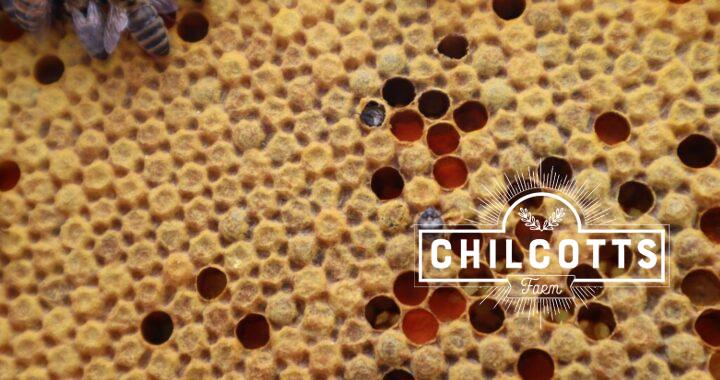
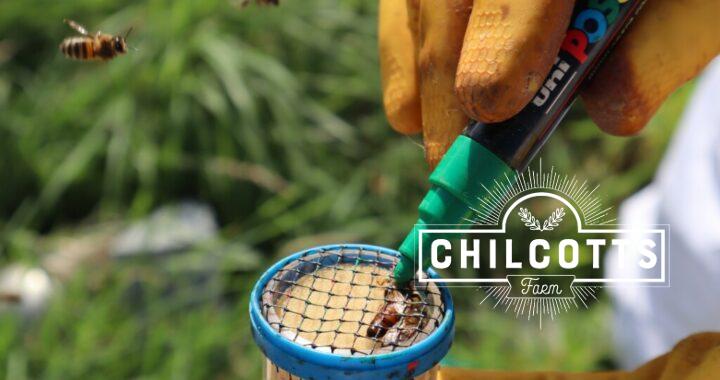
Today was a chance to mark some of this year’s queens. The queen bee is larger than the workers, but is often difficult to find amongst all her daughters. Being able to easily see her speeds up the hive inspection.
Queens are colour coded depending on the year, this helps you remember their age. For 2019 the colour is green.
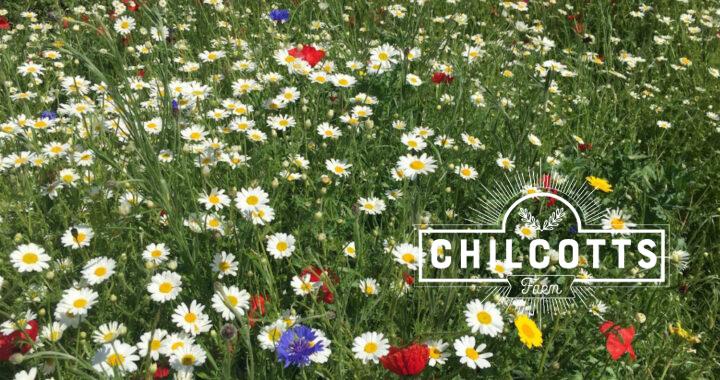
I have a two acre field, I really want to turn into (revert to?) wildflower meadow. How do you do it? Can anyone help?
It seems really complicated and expensive.
Done the research over a few years and got the facts, just spent £40 on seed! (mixture of perennial and annual from Pictorial Meadows #PictorialMeadows) only does 10 square metres. 2 acres is equivalent to 8,000 square metres …… so at a price of £32,000 …. not really achievable????
A lot of money, but it needs to be done right, so hopefully this autumn we will get started. I then just need to work out how to do it affordably over the next 5 years ….. yes a 5 year project ….
#RHSGardensRosemoor have stared a wild flower meadow, and it is looking good. They are just down the road, if they are reading, perhaps someone could help out, after all we are members. I could pay in honey, vegetables or fruit ….. but I suppose that is coals to Newcastle???
Anyone any thoughts on how we can do this in an environmental way, for little cost, to achieve a native meadow.
The small colony of bees collected from the plum tree have been put into a small hive (Nuc) and placed in the quarantine apiary. Here they will be treated for disease and on day 3 fed a light sugar syrup to help them build in size.
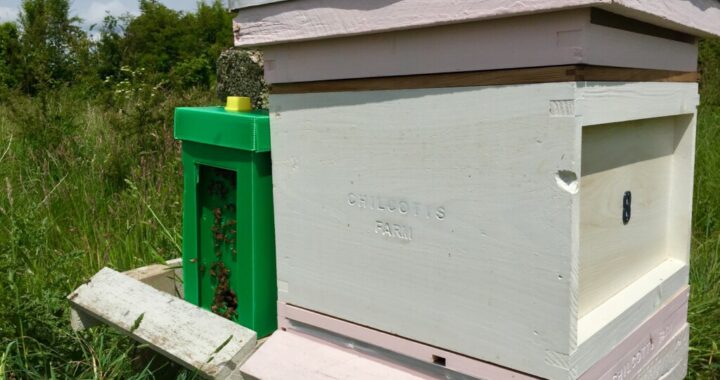
Currently I have placed the Nuc next to the hive where they will be housed.
The bees have started leaving the Nuc and familiarising themselves with the surrounding area. You can see this by their behavior. When the Nuc was first positioned and the bees let out, they would emerge from the Nuc and fly in ever increasing circles up into the sky.
This is to allow them to spot landmarks and orientate in relation to their new home.
The next step will be to feed and medicate the new colony.
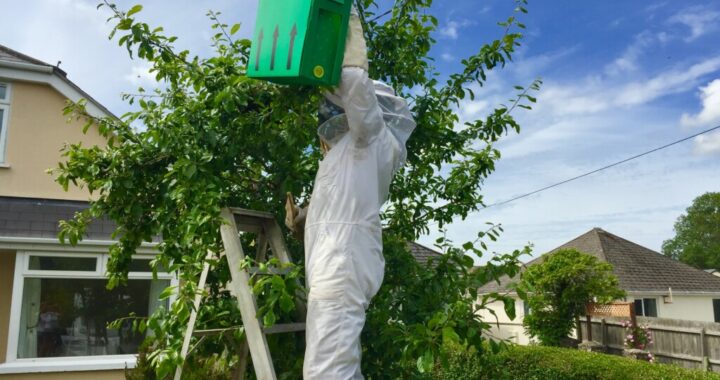
Today I collected my second swarm this week from the Bideford, North Devon.
A large swarm collected yesterday in a plum tree and was still present today, so I nipped along at 12:00 and picked it up.
It’s now located in my quarantine apiary, ready to be put in a hive tomorrow.
When collecting swarms, people, often ask me: “what happens next”?
I’ve decided to write about this swarm, so that anyone who is interested can track it’s progress. Check back to my website for updates: www.ChilcottsFarm.co.uk/news/ or follow the tag #BidefordHoneyBeeSwarm on Instagram.
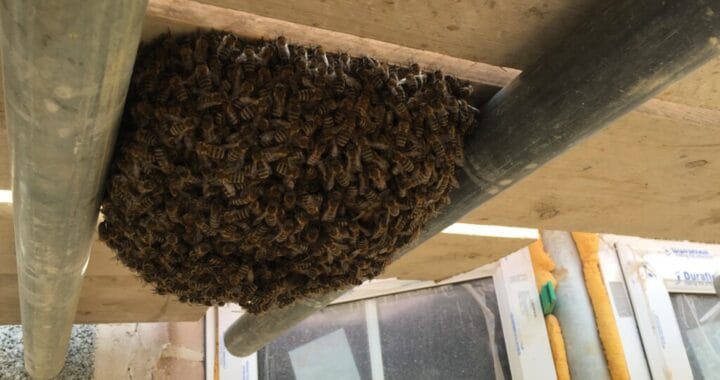
I have just collected this nice little swarm of Honey Bees from a building site in Barnstaple.
I got a call from the Site Manager. The bees had been clustering underneath some scaffolding since yesterday. Conveniently located at ground level, I put them in a box and brought them back to our isolation apiary.
Remember, if you have a Honey Bee Swarm that needs collecting and the swarm is in the local area of Bickington or Fremington, contact me. My details are below, or go to my webpage: https://chilcottsfarm.co.uk/bees/local-swarm-collector/ to find out more and to check it is a Honey Bee Swarm.
Contact me if you have a Honey Bee Swarm that you need removing:
Telephone: 07403 311920
Or, email me using the form below:
If I am not available, or you need a Swarm Collector for another area, please go to the British Beekeepers website and put in your post code: https://www.bbka.org.uk/swarm This will provide a list of Honey Bee Swarm Collectors near to you.
If you have had a Honey Bee Swarm collected and wish to make a voluntary donation toward expenses, please complete the form below:
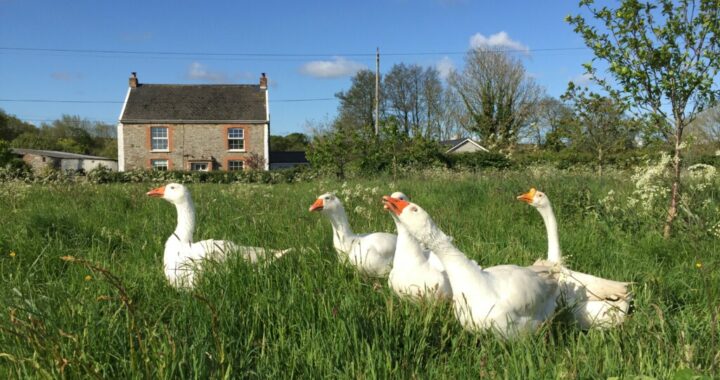
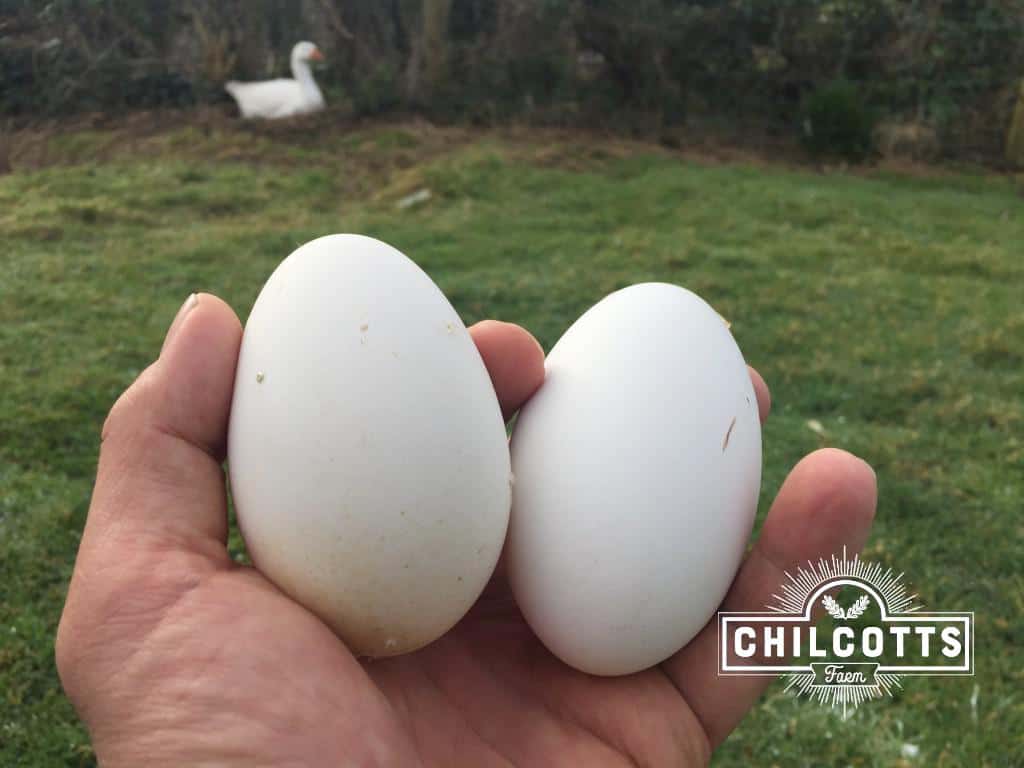
The geese have finished laying for this year, so we no longer have goose eggs for sale. We have a broody goose sitting on the last eggs laid, so maybe some spring goslings? Hopefully more goose eggs available from late February next year.
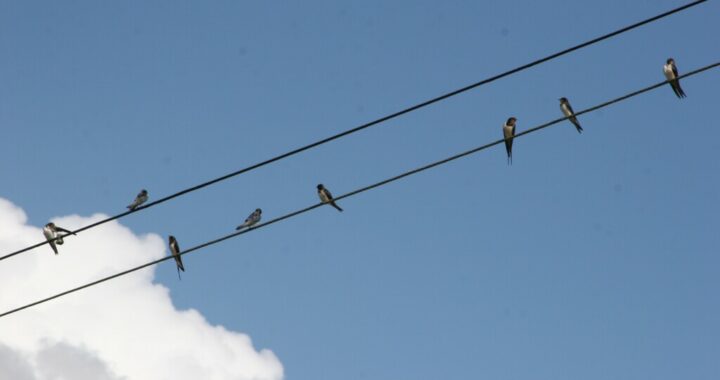
The first swallows arrived at Chilcotts Farm on 21st April. Over the past week they have been busy searching out nesting sites in the out buildings repairing last year’s nests.
Its great to see them swooping around the beautiful blue sky.
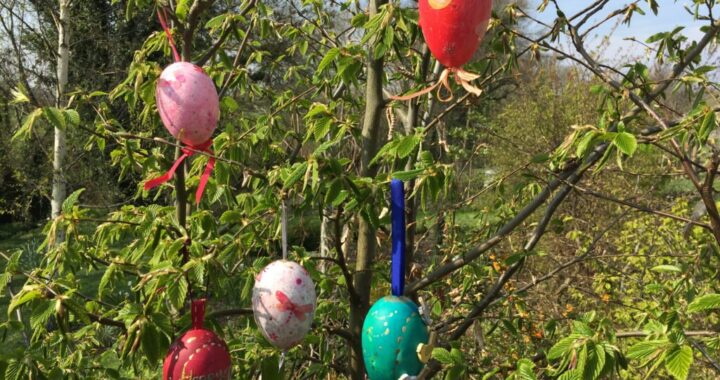
Goose egg shell is quite robust, so can be used to make a decorated egg that will last and keep indefinitely. To make a decorated egg, the white and yolk need to be removed, and the inside given a little wash. This can be done by 'blowing' the egg.
Blowing an Egg
Blowing an egg is quite straight forward, the method being applicable to most eggs. Here's what to do:
Holding the egg over a bowl, pierce a hole in both ends with a clean wood nail.
This will make a pin prick hole in either end of the egg.
Make sure that you push the nail deeply into the egg to make a hole in the egg membrane.
At this stage,still over the bowl, pierce your lips over one hole in the egg, while keeping the other end unblocked.
Give a gentle blow.
The egg should start to come out the other end.
If you are having difficulty, cover both the holes, give the egg a vigorous shake to try and break up the yolk and white inside.
Try blowing again.
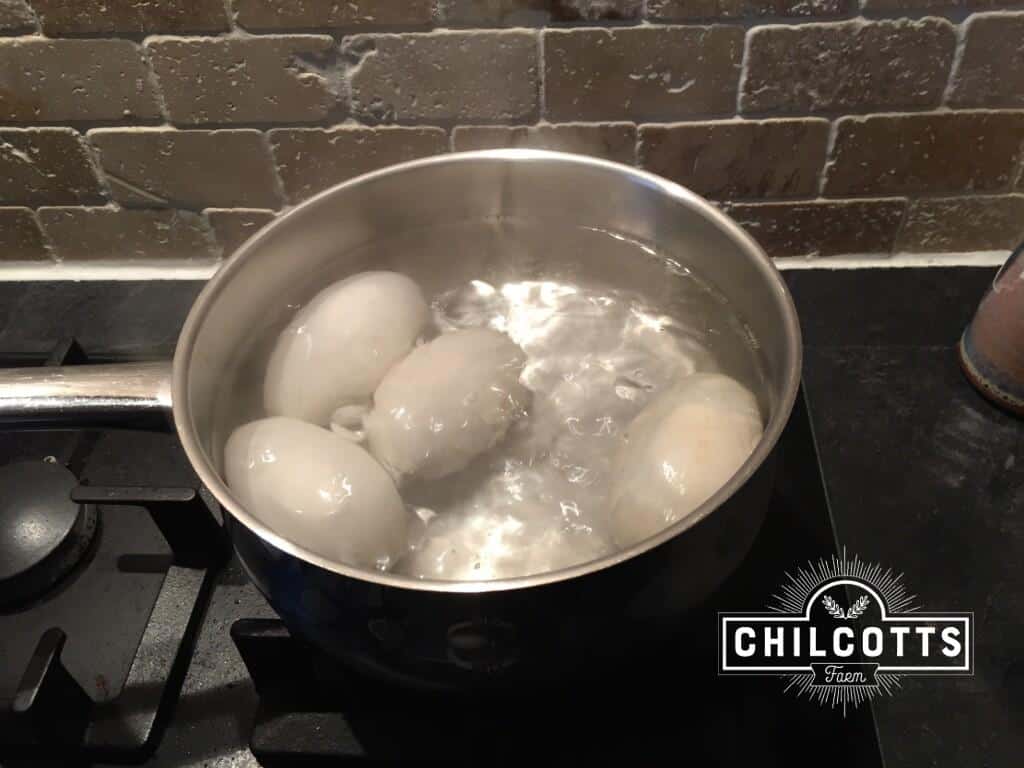
Once the white and yolk has been completely removed from the egg, don't throw it away! The egg yolk and white, can be used for cooking.
Now hold one hole of the egg under a cold tap and let water fill the egg.
Give the egg a shake, then let the water drain out.
Leave the egg to dry.
Basic dyeing
Once dried the egg can be decorated.
Decoration can be left to your imagination using a variety of techniques, from pens, to stickers, to paints. We use an edible egg dye, but food colouring can be used too.
The advantage of the egg dye is that it is edible and can be also used on hard boiled eggs.
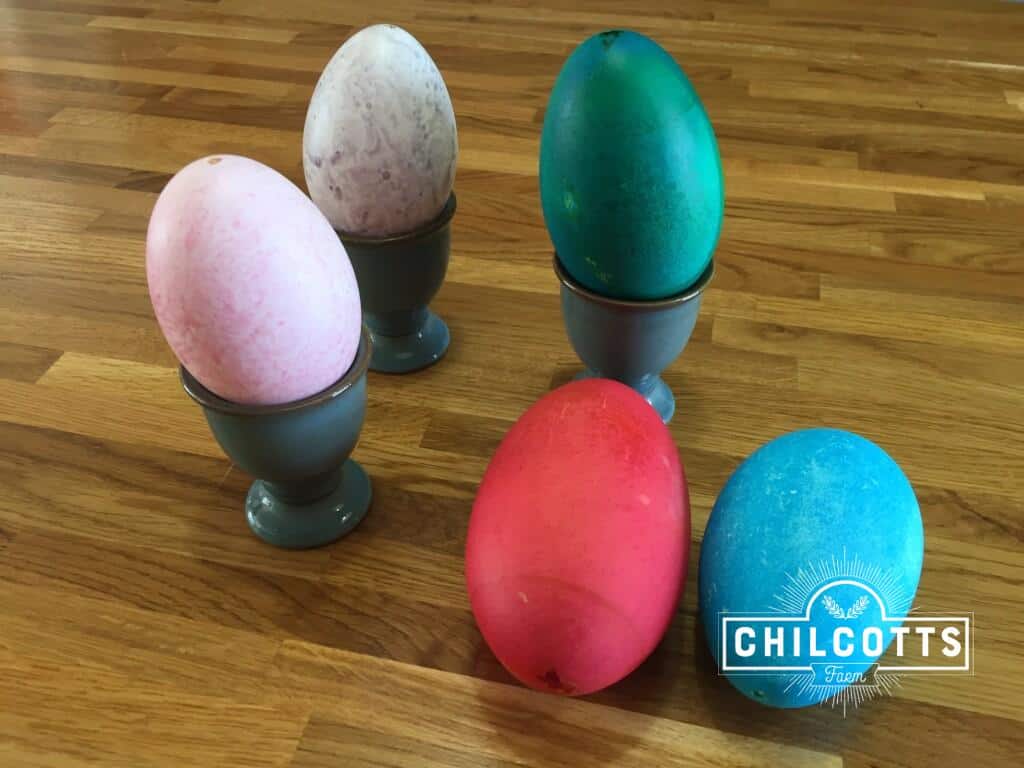
Follow the instructions on the egg dye packet, but typically this involves dissolving the dye in water and then dipping the egg. An egg could be dipped multiple times, to get a rainbow or blend of colours.
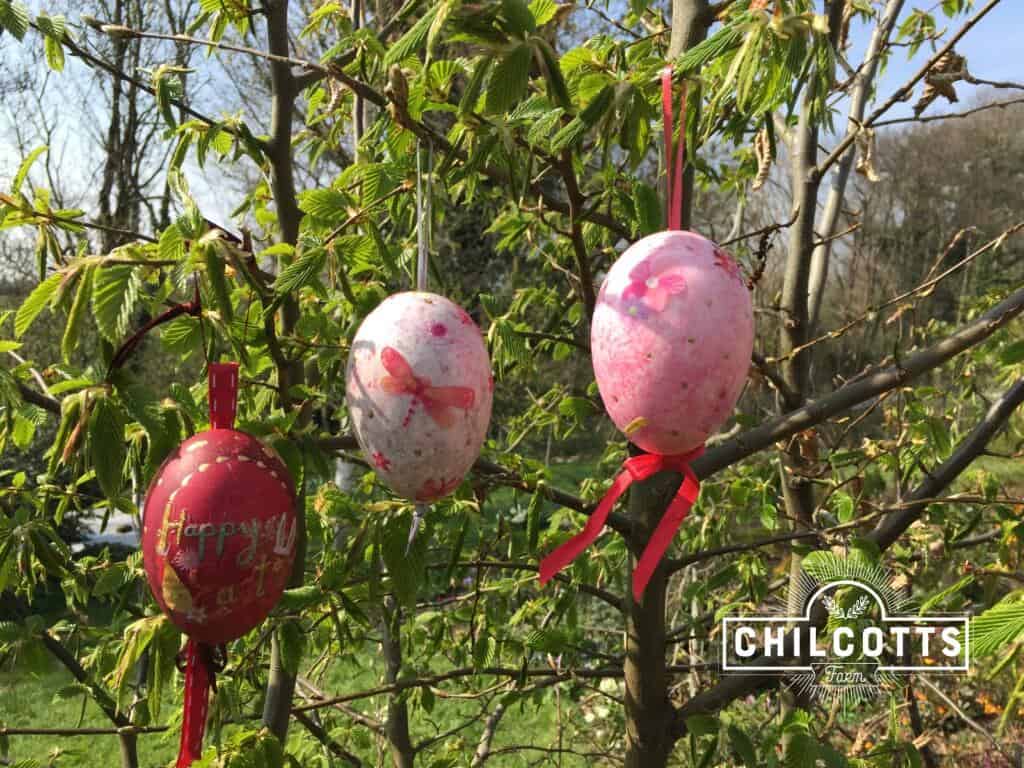
In our picture, we have dyed the egg all one colour, there are a couple of eggs, that have been dipped in a marbling dye, which gives a marbled affect.
Further Decoration
If you are colouring your egg first, as described above, wait until the dye is dried, then embellish your design with transfers, and felt tip pen.
As a final layer of protection an clear lacquer or varnish can be applied.
To finish it off, why not thread a bit of ribbon through the egg, so that it can be hung up?
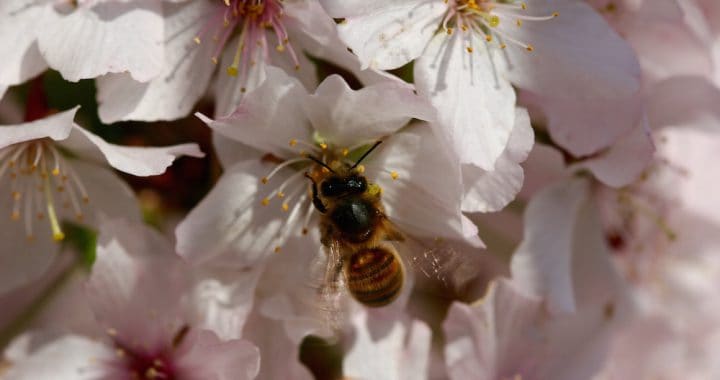
A couple of weeks ago I noticed a couple of bees flying from the hive and returning with pollen. It looked like cherry blossom pollen, perhaps from the blackthorn that had started to flower in the hedge rows.
Anyway, the last couple of days, which have been very warm and bright, the bees have been flying and coming back with loads of pollen. In addition, the cherry and plum blossom in the orchard is covered in bees.
Hopefully the weather will remain kind to the bees, and this year’s fruit trees will be well pollenated and produce a bumper harvest of fruit.